
010 - Boot BITDEFENDER Rescue CD from USB as an ISO file

Unique hits
Please Note: The information below is now outdated as the linux distro used by BitDefender has been changed. Easy2Boot can directly boot the new ISO. Persistency is not currently supported with the new 2013+ versions.
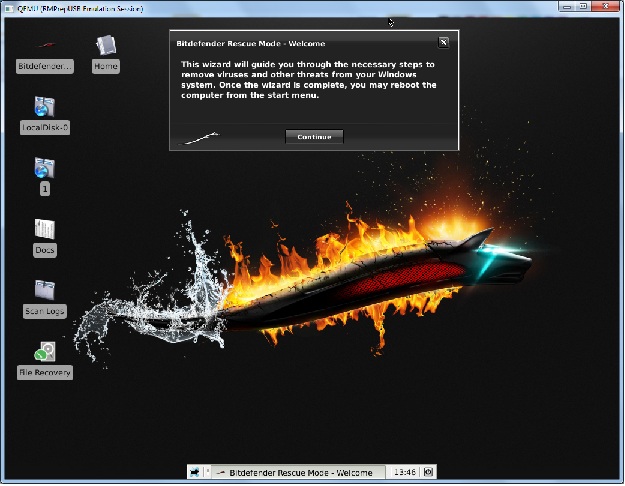
BitDefender booted directly from a USB pen using the QEMU button in RMPrepUSB
This tutorial was inspired by Jamal's tutorial at http://www.boot-land.net/forums/index.php?showtopic=12813
It only works with 2012 or previous versions of the ISO.
1. Download BitDefender Rescue CD ISO file (bitdefender-rescue-cd.iso) from here (388MB) - this was the one I tested (388,820Kb 18th Jan 2012).
A new (2012) version which was modified to fix a licence expiration issue can be found here. See this forum thread for details.
2. Insert your USB stick (1GB or larger) into your Windows PC and run RMPrepUSB
1. size=MAX
2. Volume Name = BitDefender
3. OS = MSDOS
4. Filesystem = FAT32 + Boot as HDD
5. Copy OS files (leave unticked)
6. Click on Prepare Drive
3. Now click on Install grub4dos and answer No to use MBR question and OK to copy of grldr file
4. Copy over the ISO file you downloaded in step 1 to the USB drive
5. Use Notepad to create a menu.lst file on the USB drive as below
title BitDefender Rescue CD 2010
map /bitdefender-rescue-cd.iso (0xff)
map --hook
root (0xff)
kernel /casper/vmlinuz boot=casper persistent noprompt iso-scan/filename=/bitdefender-rescue-cd.iso
initrd /casper/initrd.gz
title BitDefender Rescue CD 2010 (select vga mode)\nSelect if the previous option displays a black screen and no GUI
map /bitdefender-rescue-cd.iso (0xff)
map --hook
root (0xff)
kernel /casper/vmlinuz boot=casper persistent noprompt iso-scan/filename=/bitdefender-rescue-cd.iso vga=ask
initrd /casper/initrd.gz
You should now have just three files on your USB drive - menu.lst, grldr and the iso file.
6. Restart your computer and boot from the USB drive to test it. Note: Emulators or virtual machines may not work but a real system should work.
When BitDefender boots it will start to download the latest updates automatically.
If you want the updates to be persistent, create an Ext2 filesystem using the RMPrepUSB 'Create Ext2 FS' button called \casper-rw.
Don't forget to enable the save session option in Bitdefender. Right-Click on the Desktop, Applications - Settings - Session and Startup - General - Automatically save session on logout.
For the BitDefenderRescueCD_v2.0.0_5_10_2010.iso
Extract the \boot and \rescue folders to the root of the USB drive and use this menu
title BitDefender Rescue
if not exist /rescue/livecd.squashfs echo No squashfs && pause && configfile /menu.lst
set SQUASH=rescue/livecd.squashfs
set common=root=/dev/ram0 real_root=/dev/loop0 loop=%SQUASH% cdroot_marker=%SQUASH% initrd udev cdroot scandelay=2
set silent=quiet splash
#set silent=
set lang=en
debug on
errorcheck on
kernel /boot/kernel.i386-pc %common% %silent% lang=%lang%
initrd /boot/initfs.i386-pc
TroubleShooting
If you are asked for a username and password, then you probably don't have enough memory. Normally no username/password is required if your system has sufficient memory (approx. 600MB or more). Also try selecting a different VGA mode using the second (vga=ask) menu.
Easy2Boot
You can add BitDefender to your E2B multiboot drive with persistence by using a .mnu file.
See the \_ISO\docs\Sample mnu files\linux folder.