
46 - Ubuntu 11-15 - boot from ISO

Unique hits
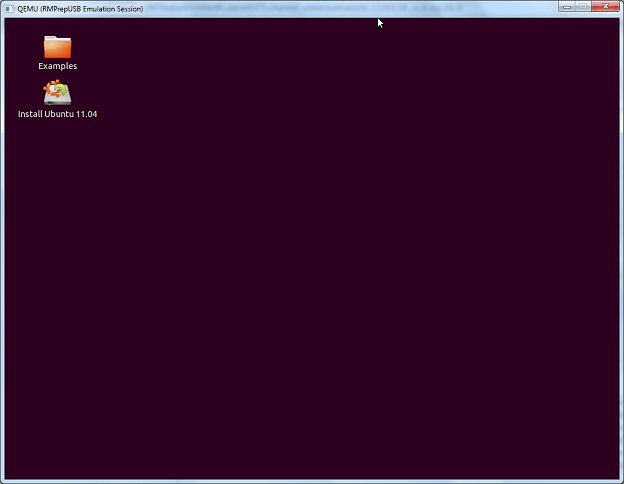
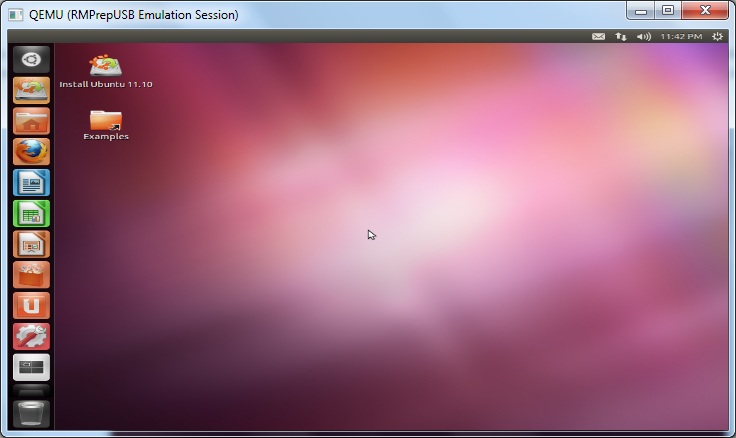
This tutorial is for Ubuntu 11.04 or later (Natty Narwhal - first screenshot below) but also works for 11.10 (2nd screenshot) if you change the iso name and 12.04. You can make a persistent version (2GB+ USB stick or USB hard disk required) so that any changes you make will be remembered (e.g. wireless WEP/WPA settings, country, wallpaper, etc.). In addition, once you have created a bootable USB stick - you can use it to install Ubuntu onto a PC (or even dual boot on a PC).
Boot from ISO
Do you want to have a persistent OS but run from an ISO file and use grub4dos and have only 4 files on your USB drive? No Problem!
Download and copy the single file ubuntu-11.04-desktop-i386.iso (or 12.04 or 15.10, etc.) to a new folder on your hard disk (e.g. C:\Ubuntu) or if you have a FAT32 USB drive already prepared, copy it to the USB drive.
IMPORTANT: If you are not making a new USB drive, make sure that the ISO file on the USB drive is contiguous. Use RMPrepUSB (latest version) and press CTRL+F2 or run WinContig on the ISO file or whole drive. If the ISO file is not contiguous, grub4dos will attempt to load the whole ISO file into memory and you may not have enough memory in your system.
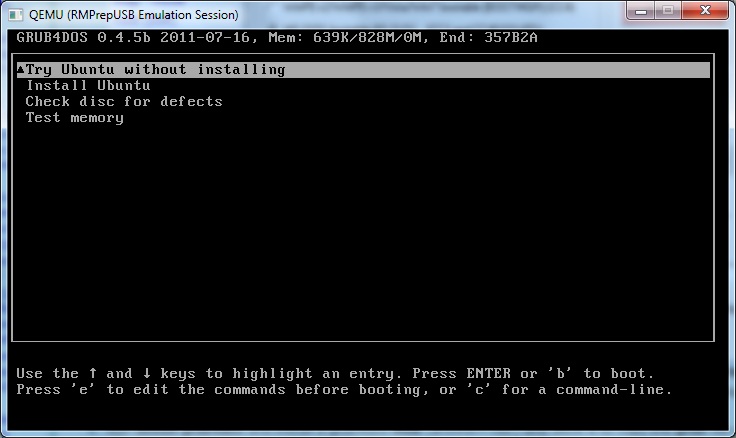
Make or add these lines to a new menu.lst file in the same folder, contents are as below:
Note: if you want a persistent filesystem then keep the word 'persistent' in the command line and make a casper-rw file in step 5.
menu.lst
title Try Ubuntu without installing
find --set-root /ubuntu-11.04-desktop-i386.iso
map /ubuntu-11.04-desktop-i386.iso (0xff) || map --mem /ubuntu-11.04-desktop-i386.iso (0xff)
map --hook
root (0xff)
set k=vmlinuz
if exist /casper/vmlinuz.efi set k=vmlinuz.efi
kernel /casper/%k% file=/cdrom/preseed/ubuntu.seed noprompt boot=casper persistent iso-scan/filename=/ubuntu-11.04-desktop-i386.iso quiet splash --
initrd /casper/initrd.lz
title Install Ubuntu
find --set-root /ubuntu-11.04-desktop-i386.iso
map /ubuntu-11.04-desktop-i386.iso (0xff) || map --mem /ubuntu-11.04-desktop-i386.iso (0xff)
map --hook
root (0xff)
kernel /casper/vmlinuz file=/cdrom/preseed/ubuntu.seed noprompt boot=casper only-ubiquity iso-scan/filename=/ubuntu-11.04-desktop-i386.iso quiet splash --
initrd /casper/initrd.lz
title Check disc for defects
find --set-root /ubuntu-11.04-desktop-i386.iso
map /ubuntu-11.04-desktop-i386.iso (0xff) || map --mem /ubuntu-11.04-desktop-i386.iso (0xff)
map --hook
root (0xff)
kernel /casper/vmlinuz boot=casper integrity-check noprompt iso-scan/filename=/ubuntu-11.04-desktop-i386.iso quiet splash --
initrd /casper/initrd.lz
title Test memory
find --set-root /ubuntu-11.04-desktop-i386.iso
map /ubuntu-11.04-desktop-i386.iso (0xff) || map --mem /ubuntu-11.04-desktop-i386.iso (0xff)
map --hook
root (0xff)
kernel /install/mt86plus
Format your USB drive using RMPrepUSB (v2.1.605 or later) - FAT32 + Boot as HDD, set the 5 - Copy Files source to the C:\Ubuntu folder of your hard disk - click 6 Prepare Drive and wait for it to finish. If you already have a bootable USB drive with grub4dos and a menu.lst then skip this and just copy over the ISO file and add the menu entries to your existing menu.lst file.
Note: Ubuntu 13, 14, 15 will work on both FAT32 and NTFS with persistent cheat code if you use the partnew workaround below. For Ubuntu 15 you need to run vmlinux.efi instead of vmlinuz.
Run Install grub4dos and install a grub4dos MBR (answer='Yes') and allow it to copy the grldr file over. If you already have grub4dos installed then do this anyway as you will get the latest compatible version - older versions of grldr may not work.
If you want a persistent filesystem to keep all your changes, make a new /casper-rw file (volume name and file name must be casper-rw) using the Create Ext2 FS button in RMPrepUSB (size of 1 to 4 GB recommended if you have space).
Using persistence with NTFS
PLEASE NOTE: Many linux versions (including Ubuntu's) will not automatically mount a persistent filesystem if it is a file on an NTFS filesystem (i.e. if your casper-rw file is on an NTFS USB drive then it won't work!)
However, there is a way around this.
First create your casper-rw file as explained in Step 5 - the file name can be anything you like (if you also change the menu.lst file too) but the volume name of the filesystem MUST be casper-rw.
Next rename the casper-rw file to a suitable name (e.g. Ubuntu1204-rw) - this step is optional but it avoids any other linux you have trying to use casper-rw - you can thus have many linux ISOs that all try to use 'casper-rw' on the same USB boot drive.
Ensure that the file is contiguous (run RMPrepUSB - Ctrl+F2 on the drive)
Now add an extra line to the beginning of your grub4dos menu as a line just under the title line (make sure the file name matches the one you created), as follows:
partnew (hd0,3) 0x0 //ubuntu1204-rw
IMPORTANT: This will wipe the 4th partition entry of your boot disk! Make sure that the 4th partition table is empty (use RMPrepUSB - Drive Info - 0 to check).
For more info see my blog post here.
The partnew command creates a partition entry which points to the persistent file. As linux just sees a partition on a hard disk that is an ext2 partition it quite happily mounts it!
Your usb pen should now contain these 4 files:
Directory of E:\
16/07/2011 18:15 280,024 grldr
22/07/2011 17:43 1,128 menu.lst
22/07/2011 10:01 718,583,808 ubuntu-11.04-desktop-i386.iso
22/07/2011 18:24 1,100,003,840 casper-rw
4 File(s) 1,818,868,800 bytes
That's it - go try it!
Note: If you want to place the ISO file in a different folder, make sure you change all the references to the iso file in menu.lst.
Tip: To access USB drives, you will need to create a /media/ubuntu folder first! This is a bug in the LiveCD build.
ctrl+alt+f1
sudo mkdir /media/ubuntu
clrt+alt+f7
Now double-click on USB drive icon to mount it and view a drives contents.
Instructions for installing from USB to Hard Disk can be found here.
Troubleshooting
Corrupt persistence file: If the ISO will not boot (but did boot before), try without the 'persistent' cheat code. If it boots OK, then delete the casper-rw file and re-make it.
To install onto a hard disk alongside Windows 7, choose 'Something else'
and then choose a 5GB+ partition to install Ubuntu to. The partition will be re-formatted
so you need to make sure that there is nothing you want on it.
You can first use EaSeus Home Partition Manager to shrink an existing partition if you like and then create a new partition.
Top things to do after installing Ubuntu 11.04 Natty Narwhal (includes installing Flash and getting latest updates).