Here is how to make a Windows Recovery USB drive (and thus WinPE) using just a 5 files from a standard Windows 7 OS. There is no need to download or install the entire WAIK.
This method is derived from Jamal’s excellent and more detailed tutorial from reboot.pro here.
1. Boot your Windows 7 system and create a new folder on your Windows 7 system – e.g. C:\temp\WinRE
2. Create two new folders inside the new WinRE folder called boot and sources
3. In Windows 7 Explorer, Tools – Folder Options – View – tick Show Hidden Files, Folders and Drives, and untick Hide Protected Operating System Files
4. Copy the file C:\Recovery\xxxxxxxx-xxxx-xxxx-xxxx-xxxxxxxxxxxx\boot.sdi to the C:\temp\WinRE\boot folder (where xxxxx is a folder with a load of letters and numbers!). There may be a 64-bit and 32-bit folder if you have a 64-bit Windows 7 OS installed.
5. Copy the large file C:\Recovery\xxxxxxxx-xxxx-xxxx-xxxx-xxxxxxxxxxxx\Winre.wim to the C:\temp\WinRE\sources folder and rename it to boot.wim (if there are two folders, the one with the larger WinRE.wim will be the 64-bit WinRE, the smaller WinRE.wim will be the 32-bit version). Choose the appropriate wim file for whatever system you are going to repair or boot on later.
6. Copy the file C:\windows\boot\dvd\pcat\bcd to the folder C:\temp\WinRE\boot
7. Copy C:\windows\boot\dvd\pcat\en-us\bootfix.bin to the folder C:\temp\WinRE\boot
8. Copy the file C:\bootmgr to the c:\temp\WinRE folder (you may also find this file in the c:\windows\boot\pcat folder)
You should now have a folder structure like this with 5 files:
C:\temp\WinRE\bootmgr
C:\temp\WinRE\sources\boot.wim
C:\temp\WinRE\boot\BCD
C:\temp\WinRE\boot\bootfix.bin
C:\temp\WinRE\boot\boot.sdi
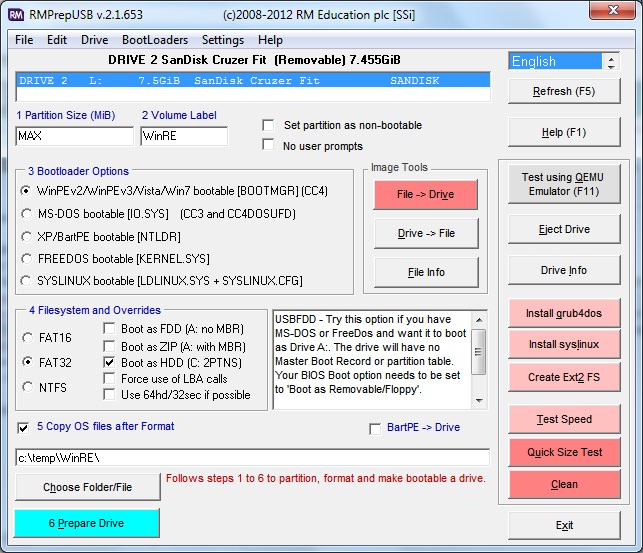
9. Now make a bootable USB drive (HDD or Flash drive), using RMPrepUSB as shown below and click on 6 Prepare Drive:

Note: The following 2 steps are optional and do not need to be done as long as you have set the WinPE v2 [BOOTMGR] option in RMPrepUSB. They are included so that you can make a grub4dos multiboot USB drive.
10. Click on the Install grub4dos button and press the [ENTER] key when prompted to ensure that the grldr file is copied to the USB drive.
11. Press F4 in RMPrepUSB to load a new, blank menu.lst file into Notepad. Then copy the following text into Notepad and save the file.
- title WinRE\nBoot to Windows System Recovery
- chainloader /bootmgr
Your USB drive should now contain:
- \grldr
- \bootmgr
- \menu.lst
- \sources\boot.wim
- \boot\BCD
- \boot\bootfix.bin
- \boot\boot.sdi
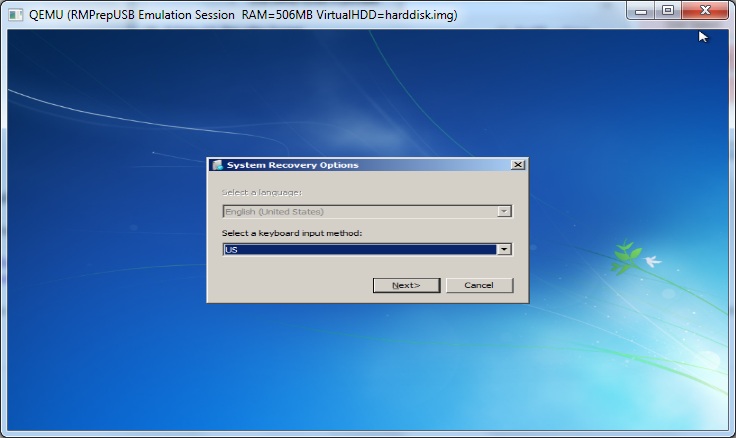
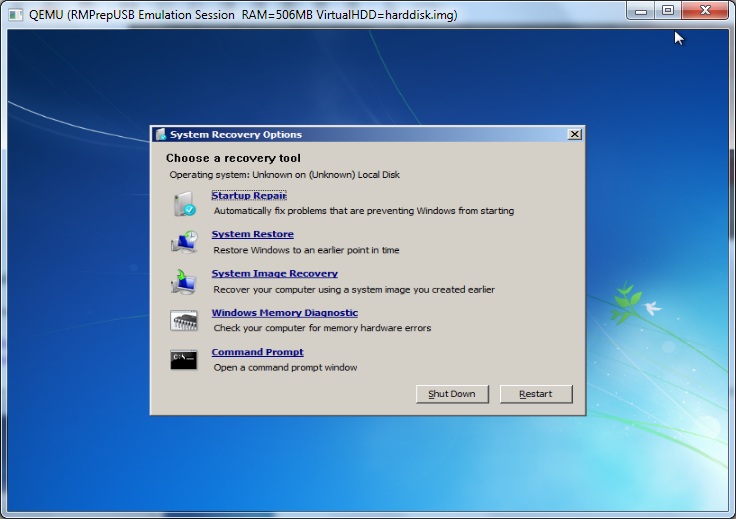
Your USB drive is now ready to test. You can test it by using the Test using QEMU Emulator (F11) button in RMPrepUSB (if it is the 32-bit version of WinRE) or by booting the USB drive from a real system.


