
Table of Contents
You can add a Kaspersky 2012 (Rescue Disk 10) ISO to your grub4dos bootable USB drive or create a bootable USB drive from scratch with the Tutorial below. It is largely based on the guide here but the update script has been enhanced.
Update: New method and menus – or just use Easy2Boot and copy the kav_rescue_10.iso or krd.iso file to the \_ISO\ANTIVIRUS folder!
If you want the definitions to be stored on your USB drive, use the special .mnu file in Easy2Boot.
grub4dos boot menu (click for a larger version).
The background wallpaper is included in the tutorial download.
STEP 1 – MAKE AN UP-TO-DATE ISO FILE (2012)
Before you make a bootable USB drive, you first need to make an up-to-date Kaspersky Rescue Disk ISO file. You can download one from the Kaspersky web site, but this will be out of date. What you want is an ISO which has the latest virus definitions. To make an updated ISO file…
Either follow 1A or 1B below and then Step 2:Unsupported embed
1A – PREPARE ISO AFTER INSTALLING KASPERKSY TRIAL VERSION (quickest, but any existing AV you have installed will be uninstalled)
1. Download and install a Trial Version of Kaspersky Anti-Virus 2012 from here
2. Download free trial – give name and email address (it does not have to be real!) – install, reboot, activate it.
3. Run Kasperksy AV and run a manual Update (1)
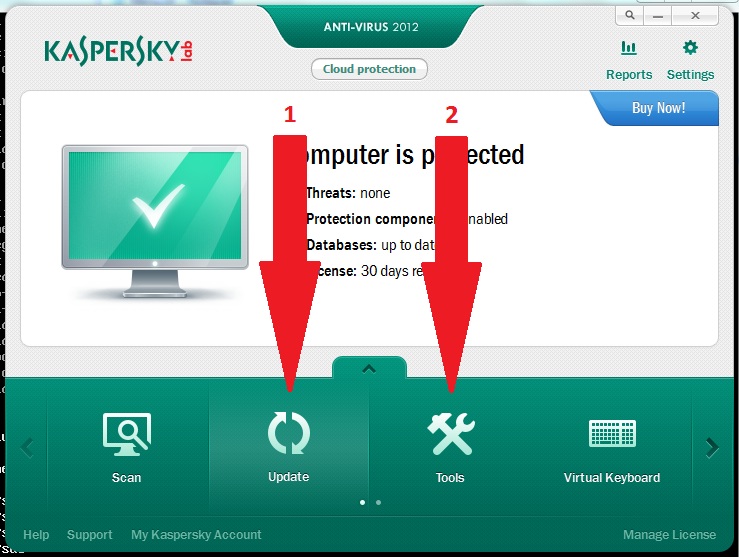
4. Go to Kaspersky – Tools and create a Rescue ISO file (2).
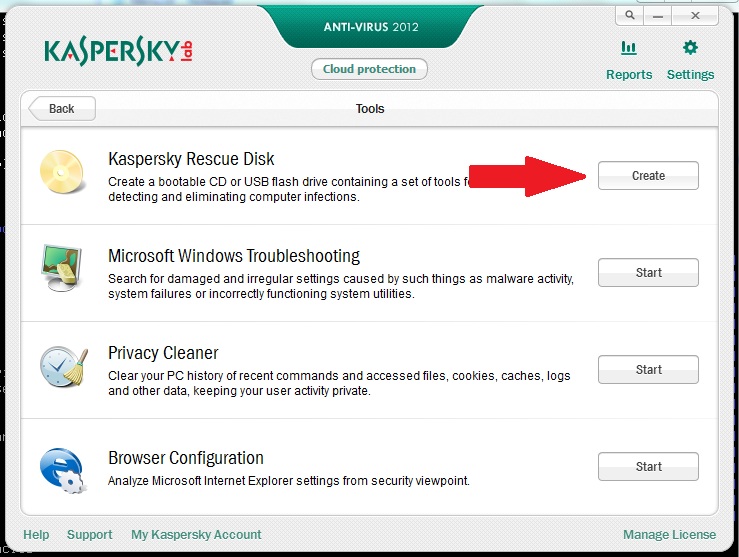
‘Save the disk image to file on local or network drive’
5. Save the new iso file to a folder or Desktop for later use – IMPORTANT: the iso MUST be named rescue.iso
Or:
1B – PREPARE ISO (does not affect your system AV software)
This method is based on the nice utility from Agni, but I have added some bug fixes and have largely automated it. See here for more details.
1. Download the Kaspersky_Update_ISO_Pack from the Beta Downloads section of this website.
2. Download the out-of-date Rescue CD ISO kav_rescue_10.iso from here – it MUST be named kav_rescue_10.iso.
3. Copy the kav_rescue_10.iso file to the Kaspersky_Update_Pack folder and right-click on diskupdt.cmd and Run as Administrator – this may take over an hour to complete and eventually makes a new ISO file called rescue.iso which will include the latest updates.
4. Copy the file rescue.iso file to the Desktop for later use.
STEP 2 – MAKE A BOOTABLE USB DRIVE USING THE KASPERSKY ISO FILE
1. Copy your pre-prepared rescue.iso file from the Desktop to the KASP\rescue\ folder – note the file should be called rescue.iso (lower case) and should be in the rescue folder – otherwise you will have to change the menu.lst file
2. Download RMPrepUSB and install it (or use the Portable version) and run RMPrepUSB.
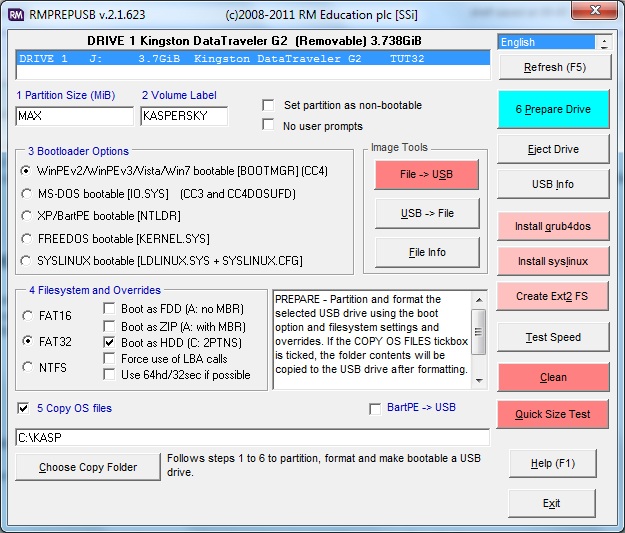
Set the RMPrepUSB settings to:
1. MAX
2. KASPERSKY (or whatever volume name you like)
3. WinPE (does not really matter!)
4. FAT32 or NTFS (or FAT16 is smalled than 2GB – again does not really matter) + Boot as HDD (2PTNS) options
5. Tick the Copy OS Files box and set the path the your KASP folder
6. Click on Prepare Drive to Format your USB stick and copy over the files.
If you already have a bootable grub4dos drive, copy all of the files from the KASP folder over (except the menu.lst) and combine the KASP\menu.lst file with the one you already have.
4. Now click on the RMPrepUSB Install grub4dos button – choose MBR (Yes) and hit Enter when prompted to copy over the grldr file.
5. The menu.lst entry for the Kaspersky Rescue Disk is shown below (press F4 in RMPrepUSB to load it into Notepad): Paste this into your \menu.lst
- gfxmenu /message (this line is responsible for the jpeg background bitmap – it can be omitted)
- title Kaspersky Rescue 10 using Partnew
- #enable parttype output
- debug 1
- # make empty table entry in 4th position in ptn table
- parttype (hd0,3) | set check=
- debug off
- set check=%check:~-5,4%
- if “%check%”==”0x00” partnew (hd0,3) 0 0 0
- if not “%check%”==”0x00” echo WARNING: PTN TABLE 4 IS ALREADY IN USE! && pause && configfile /menu.lst
- debug 1
- map /rescue/rescue.iso (0xff)
- map –hook
- partnew (hd0,3) 0 /rescue/rescue.iso
- root (0xff)
- chainloader (0xff)
Note: This menu disk may not work under QEMU – use a real system to test it!
To change the wallpaper, see the GFXMenu section in the grub4dos tutorial. You will need to make a new message file.
6. Now click on Eject in RMPrepUSB and plug your USB drive into a computer and boot from it.
Tip: If this fails to boot, try the kav_rescue_10.iso file instead.
Flat File boot
You actually don’t need the ISO file at all, just extract all the ISO files to the USB drive but then copy the \boot folder to the \rescue folder on the USB drive, you can remove the ISO file and liveusb file and use the following menu:
- title Kaspersky Rescue 10 FLAT FILE\nFlat File boot
- #extract whole ISO to root of USB drive – then move \boot folder to under \rescue folder
- uuid () > nul
- set UUID=%?%
- echo %UUID%
- kernel /rescue/boot/rescue root=live:UUID=%UUID% rootfstype=auto vga=791 init=/init kav_lang=en udev liveimg splash quiet doscsi nomodeset
- initrd /rescue/boot/rescue.igz
Folder structure for this last menu is (no liveusb file is required)
- \rescue\backup folder
- \rescue\bases folder
- \rescue\boot (has rescue and rescue.igz)
- \rescue\LiveOS\squashfs.img
- \rescue\BASES.ID
- \rescue\KRD.VERSION
- \rescue\help folder
- \Kaspersky Rescue Disk 10.0 – empty folder for updates (ensure same folder is not on internal HDD or updates will go to that one instead!)
Again, always test using a real system – it may not work using a VM.
Direct ISO boot
Another alternative for direct ISO boot is this (note do not change the UUID=A1234-1234 line – the UUID must NOT match the actual UUID of your boot device!).
ISO MUST be as \rescue\rescue.iso (for KRD 10)
Make an empty folder \Kaspersky Rescue Disk 10.0 for updates – If you are using a different version then the folder name will need to change!
menu.lst
- title Kaspersky Rescue Disk 10 ISO MAP+CDLABEL
- set KRD10ISO=/rescue/rescue.iso
- set kernel=(0xff)/boot/rescue root=live:UUID=A1234-1234 rootfstype=auto vga=791 init=/init kav_lang=en udev liveimg splash quiet doscsi nomodeset
- set initrd=(0xff)/boot/rescue.igz
- map %KRD10ISO% (0xff) || map –mem %KRD10ISO% (0xff)
- map –hook > nul
- kernel %kernel%
- initrd %initrd%
- boot
Files/Folders
- menu.lst
- grldr (use 2013 version)
- liveusb (empty file) must be present in root!
- \rescue\rescue.iso (mine was 284,474KB and contiguous)
\Kaspersky Rescue Disk 10.0 empty folder for updates – (ensure same folder is not on internal HDD or updates will go to that one instead!)
Instead of UUID, you may see some other implementation which uses CDLABEL= – again, if you use CDLABEL= it is important that the value you use for CDLABEL does NOT match the actual volume label of your USB drive!
Again, always test using a real system – it may not work using a VM.
HOW TO USE THE KASPERSKY RESCUE USB DRIVE
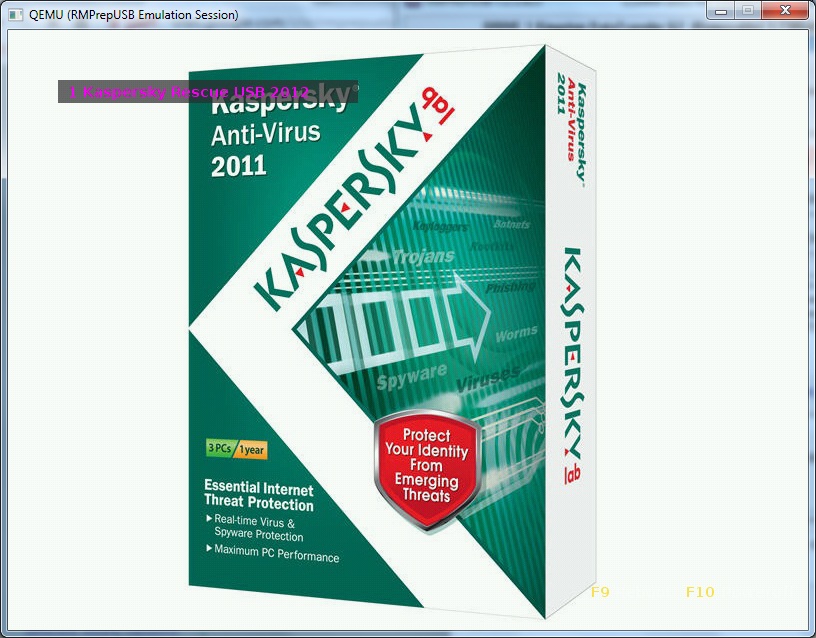
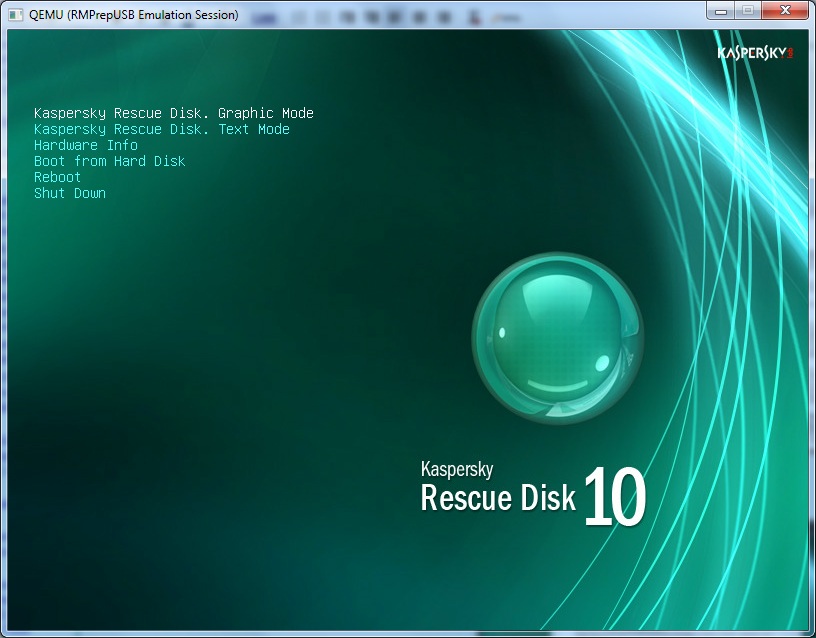
1. When the computer boots from the USB drive – hit a key within 10 seconds as prompted and then choose a language – then select Graphic mode (see screenshot below):
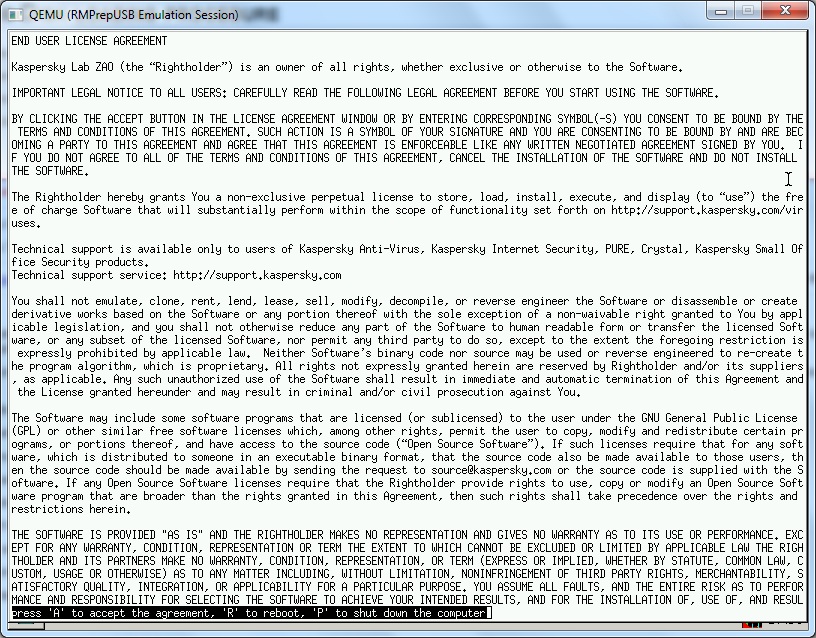
– hit a key when prompted – when you are asked to accept licence agreement by pressing A – it may not work! Instead, just press ALT+TAB – then let go and press A
2. Once you get to the linux desktop, click Start Objects Scan to start a scan.
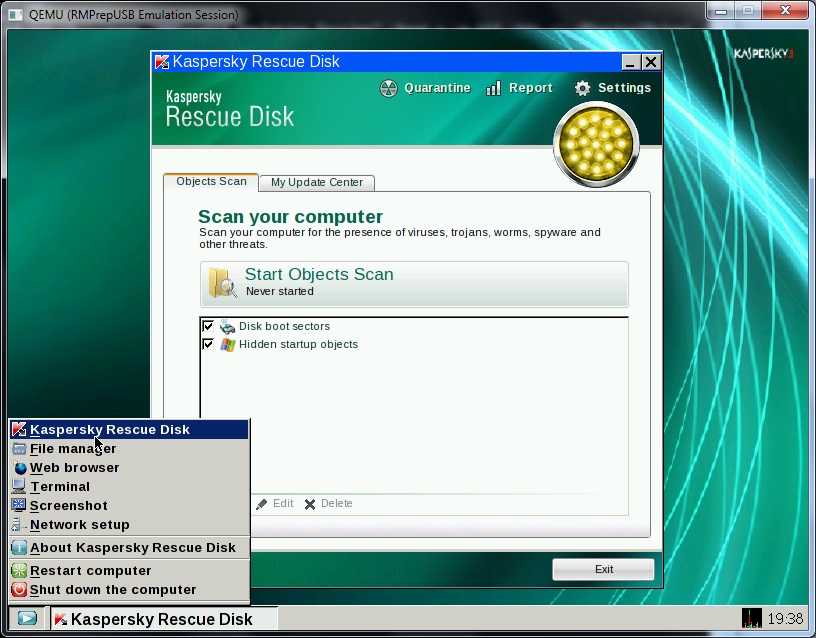
3. If you need to update the virus definitions and have internet access (Ethernet or WiFi), press the WINDOWS key (on the left of your space bar) on your keyboard (or click on the blue&white arrow icon at the bottom-right of the screen) and choose Network Setup.
Once you have set up your connection (and proxy server if required) you can try the browser or click on the Kasperksy My Update Center tab and Start Update.
KASPERSKY 10 and GRUB2
Suggested on reboot.pro
- menuentry “Kaspersky Rescue Disk 10” {
- echo “Starting Kaspersky Rescue Disk 10…”
- linux /boot/rescue root=live:CDLABEL=multiboot rootfstype=auto vga=791 init=/init initrd=rescue.igz kav_lang=en udev liveimg splash quiet doscsi nomodeset
- initrd /boot/rescue.igz
- }
This uses the extracted ISO contents.
The volume label of the USB drive must be multiboot (or else change the line in the menu to match the volume label of the USB drive)
Kaspersky Rescue Disk 2018 and GRUB2
ISO file must be located at /data folder on any volume (name must match menu).
FAT32 and NTFS tested (MBR partitioned USB drive). UEFI64 and Legacy BIOS OK.
menuentry “Kaspersky Rescue Disk 2018” {
set iso_path=”/data/krd.iso“
set lang=”en”
#next line for Ventoy partition 3 only
#set root=(${vtoydev},3)
# en=English; ru=Russian
if ! [ “x${lang}” = “xru” ]; then set lang=en; fi
#next line searches for iso file on all volumes
search -s root -f ${iso_path}
echo Booting (${root})${iso_path} $lang
loopback loop ${iso_path}
if cpuid -l; then set _kernel=”k-x86_64″; else set _kernel=”k-x86″; fi
linux (loop)/boot/grub/${_kernel} net.ifnames=0 lang=${lang} dostartx isoloop=krd.iso
initrd (loop)/boot/grub/initrd.xz
}
This menu can be used with Ventoy to boot from a different drive or partition using the F6 extended menu feature in Ventoy.