Most modern PCs and Notebooks after about 2010 have a UEFI BIOS.
You may wish to change the BIOS Setup settings on these systems.
Normally you can enter the BIOS Setup menu on these UEFI systems by switching on the system and immediately and repeatedly hammering one of the keys on the keyboard (e.g. F2 or F8 or F12 or ESC).
You should refer to the manufacturers instructions to find out which key to press.
However, in some cases, it may be really difficult to get into the BIOS Setup menu in this way.
Here is another way of getting into the BIOS Setup menu on a UEFI system.
1. First create some bootable media. I suggest using Windows 8, 8.1 or 10 Installation media in the form of a DVD.
If you have an ISO file and a USB Flash drive, you can create a bootable USB drive using Rufus:
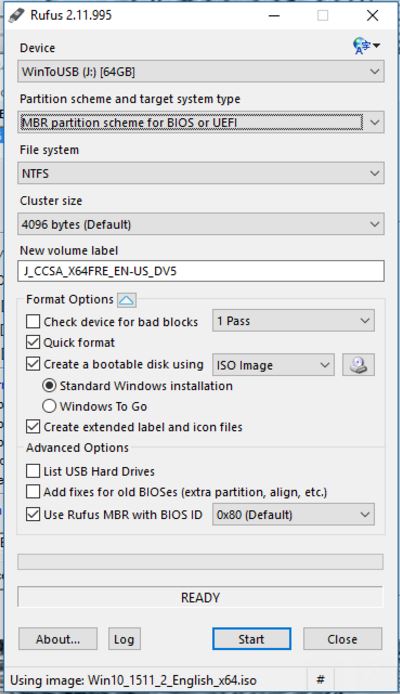
Other alternatives are to use an external USB drive or an emulating drive enclosure such as the Zalman VE-350 or IODD 2531 (loaded with a Windows 8\10 ISO).
If your system is a 64-bit UEFI system, use a 64-bit version of Windows.
If your system is a 32-bit UEFI system (note that the CPU may be 64-bit but the UEFI firmware may be 32-bit!), then use a 32-bit version of Windows 8\10.
2. Boot via UEFI to the Windows Install ISO. If using a USB device, try using a USB 2.0 port if the USB 3.0 port does not work.
Note that most BIOSes have a special Boot Selection Menu key (e.g. F8 – check with the manufacturer). Choose the UEFI: USB Hard Disk option.
3. Now we need to go through the Repair\Troubleshooting steps as follows (Windows 10 shown as example)
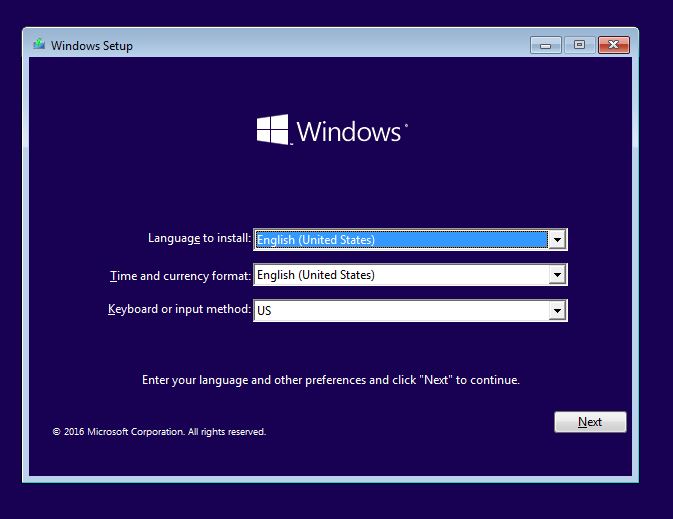
4. Select Language
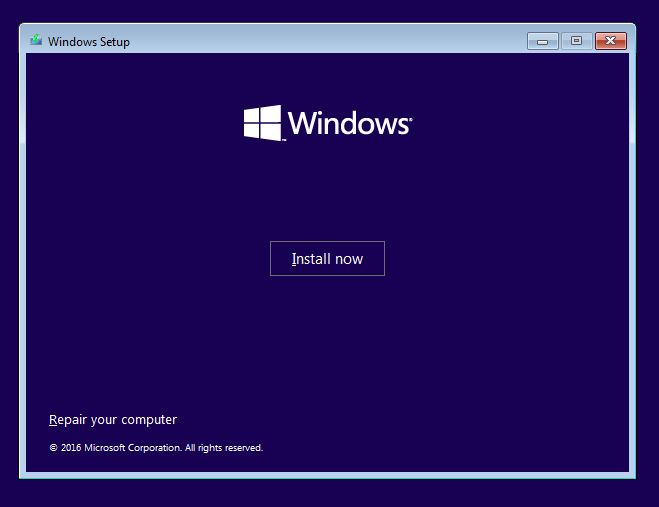
5. Select the Repair option (Alt+R)
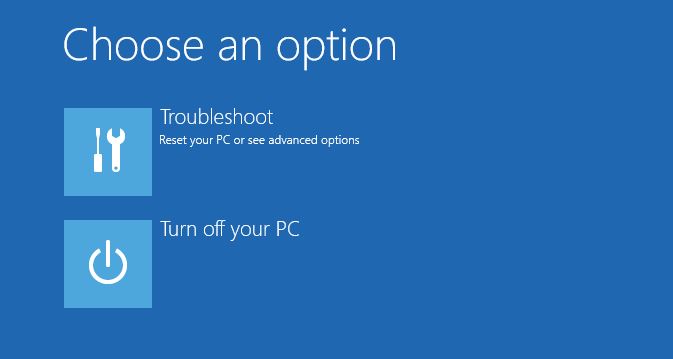
6. Choose the Troubleshoot option

7. Choose Advanced
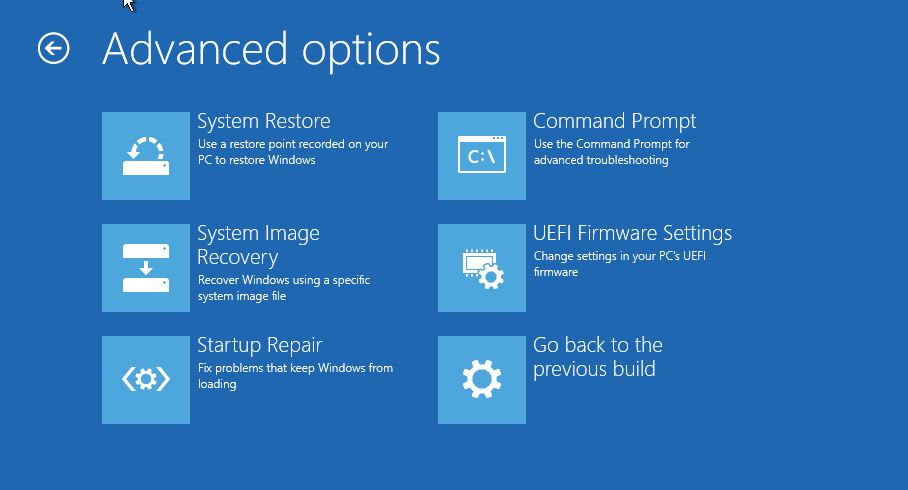
8. Click on UEFI Firmware Settings

9. Now Restart
10. The computer should reboot and go straight into the BIOS Setup
- Disable Fast Boot (this controls USB booting)
- Disable Secure Boot (allows booting from non-secure devices)
- Set CSM\Legacy Boot options (allow booting to BIOS-compatible devices
- Enable USB booting and set Boot Order as required
